


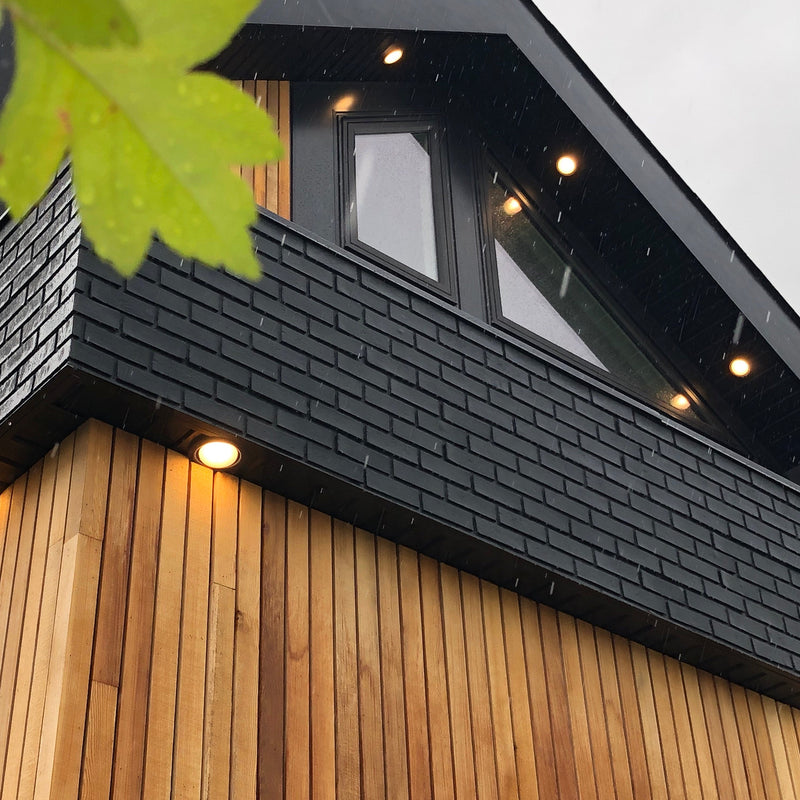

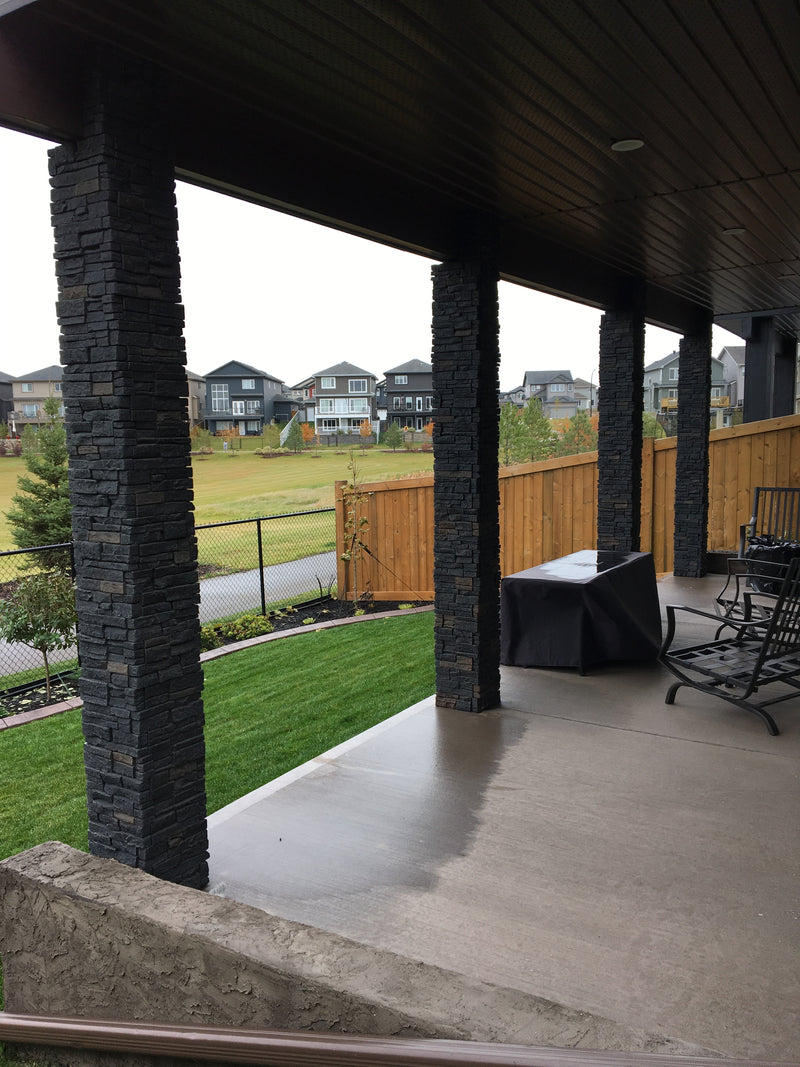

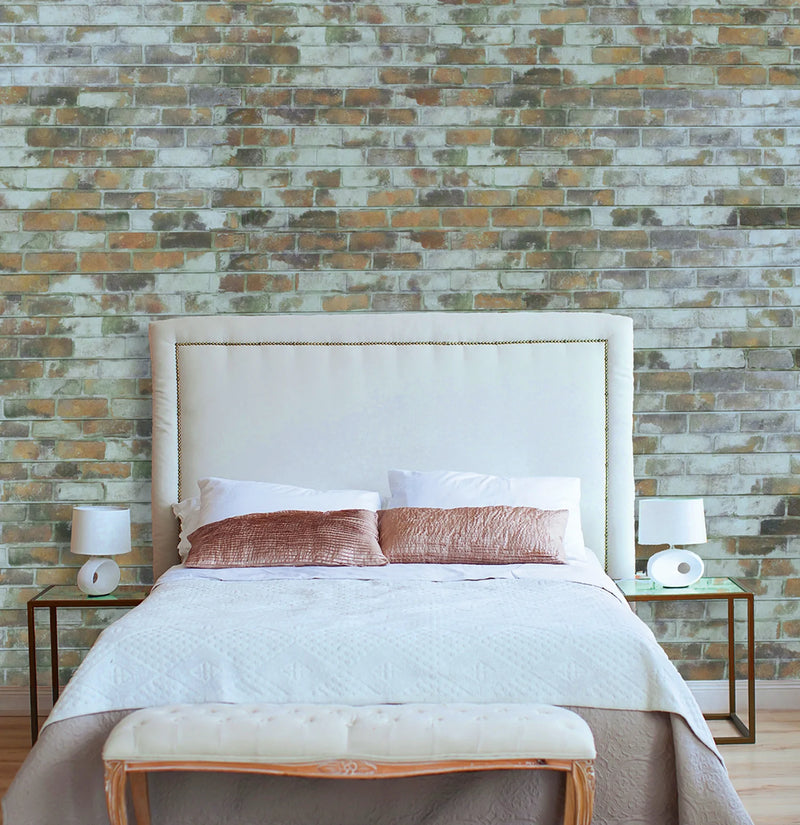


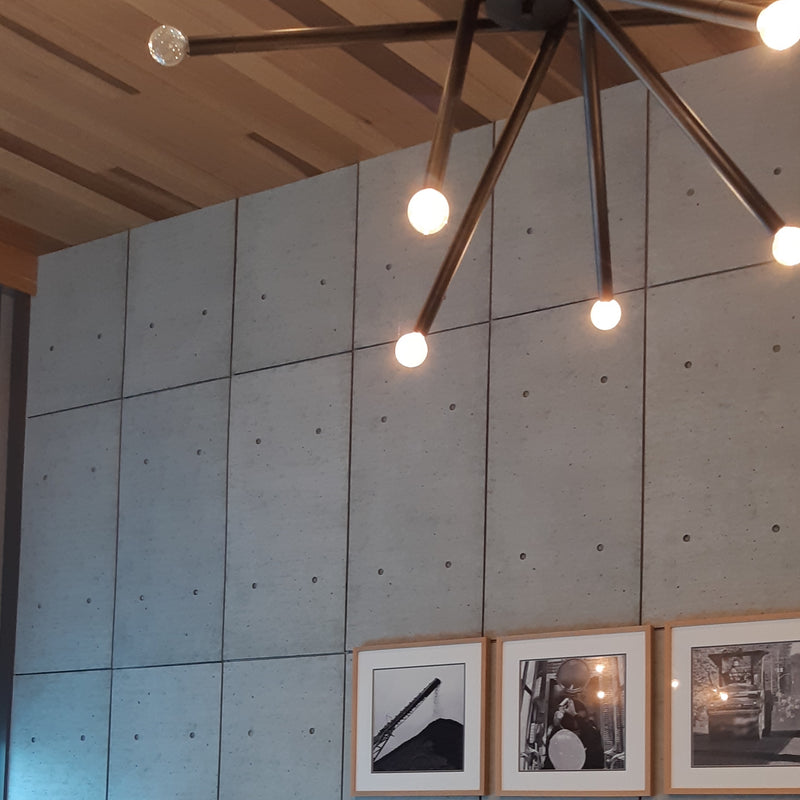
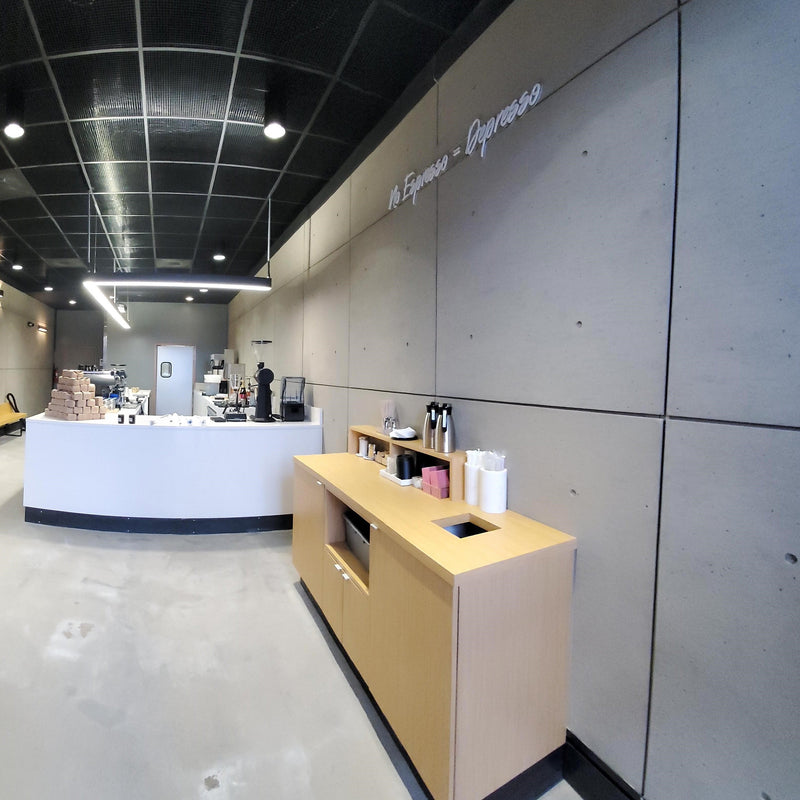

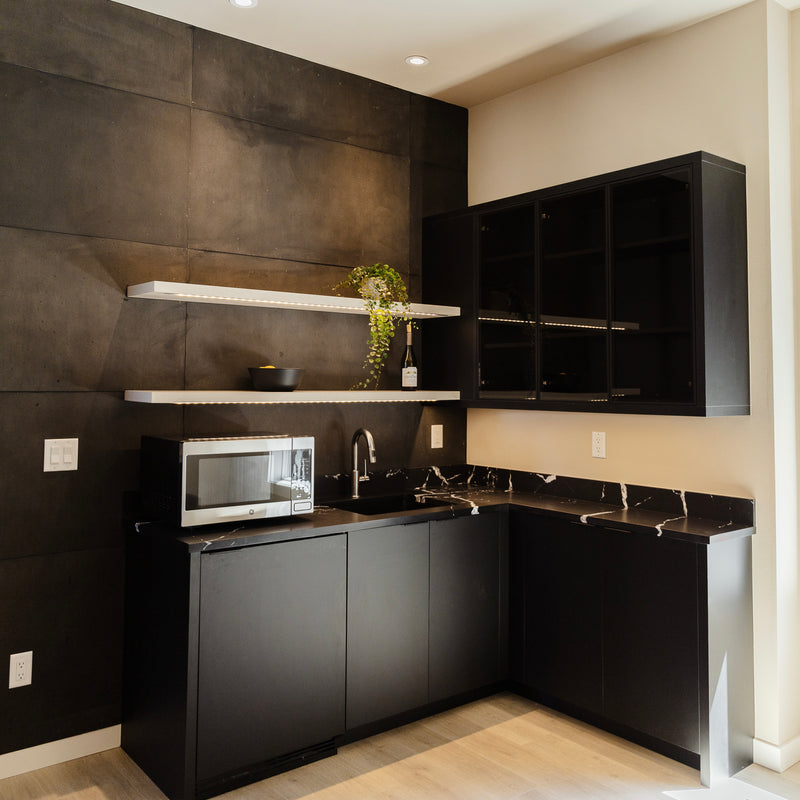
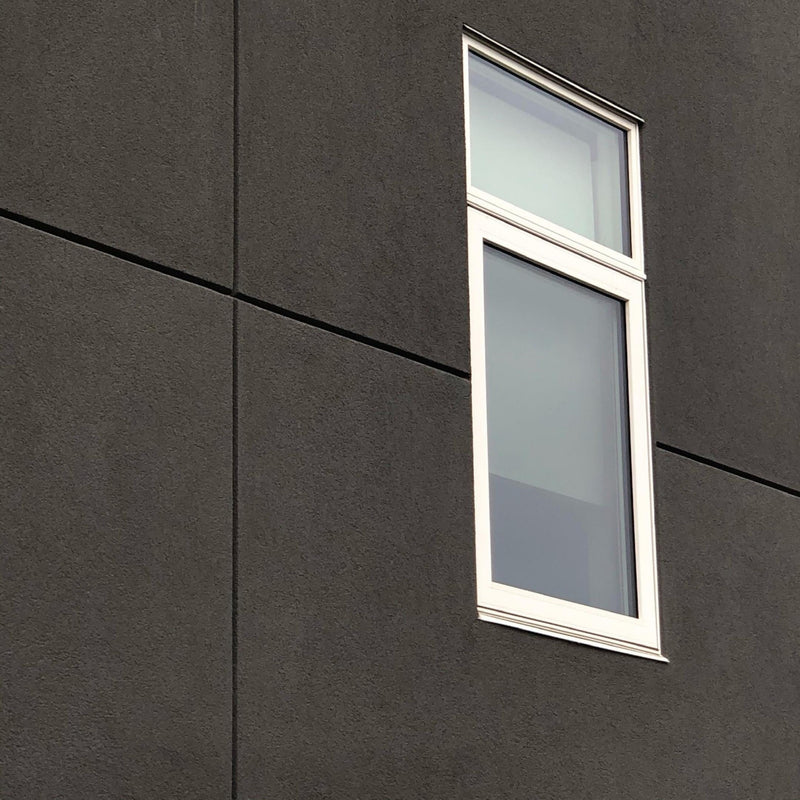


Installing Faux Concrete Panels
Hourwall urbanCONCRETE Install Tips
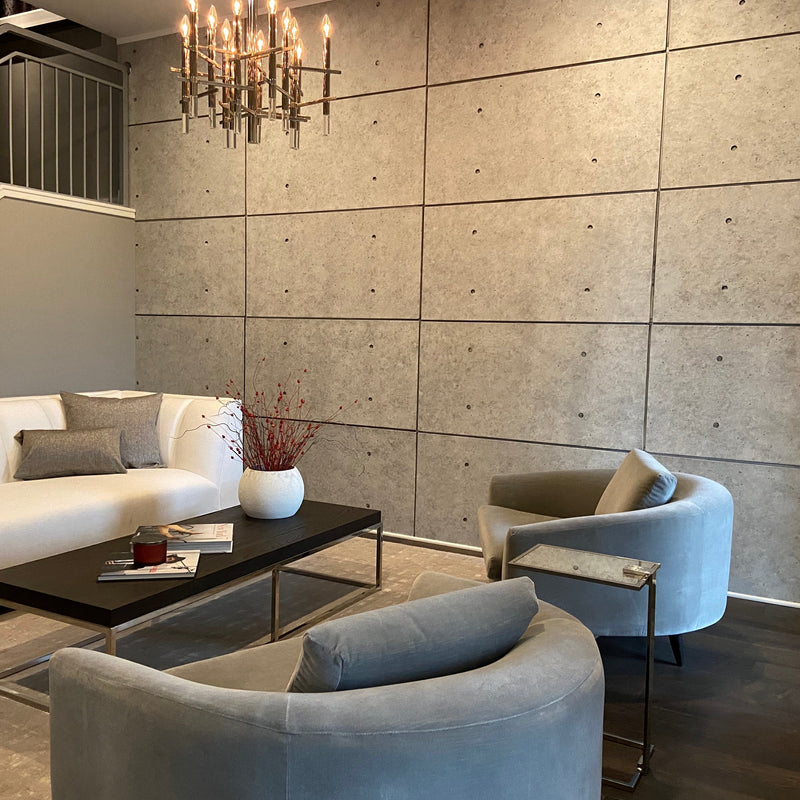
In just 9 simple steps, you can get the look of cast concrete using urbanCONCRETE faux concrete wall panels. These concrete wall panels simply screw directly onto your wall without the need of any extra reinforcement. Follow these 6 easy steps to get the look of a concrete wall all by yourself!
Step 1
Take all pictures, nails, etc. off your wall as urbanCONCRETE, faux concrete wall panels can be placed directly over gypsum, wallpaper or other mostly flat wall surfaces.

Step 2
Starting on the bottom row, and depending on the look you are going for, you can either center the first panel on the wall and work outwards from either side or start from the right side and work leftward.

Step 3
Using a level to ensure your panel is level, secure your first panel by running screws anywhere along the top tongue, which will allow you to hit a few studs. We recommend using drywall/gypsum screws.

Step 4
Run a screw through each of the panel's top shiplap strip. You can also drill into the face circles (if there are no face circles in your panel, run a few screws through a few of the panel's pitted spots) to help keep boards tight on the wall. You will hide these screws later using urbanCONCRETE caulking.

Step 5
Continue attaching panels in that row, overlapping the side tongue as you go. It is important to ensure equal spacing between panels and that the panels are level.

Step 6
At the end of a row, you will need to take a measurement and make a cut of the piece needed to finish off that row of concrete wall panels. A table saw is best to use to make this cut. A regular wood saw blade cuts these panels well.

Step 7
Continue in this fashion for each row. When you are within 24" from the ceiling (or your desired height), simply measure the height of the remaining space.

Step 8
Using a table saw, cut the boards lengthwise to the desired size for the final row. Install the final row of boards by running a few screws through the face of the panel as the top tongue will have been cut off.
 Step 9
Using the matching Stone Finish caulking colour, fill any holes with exposed screws.

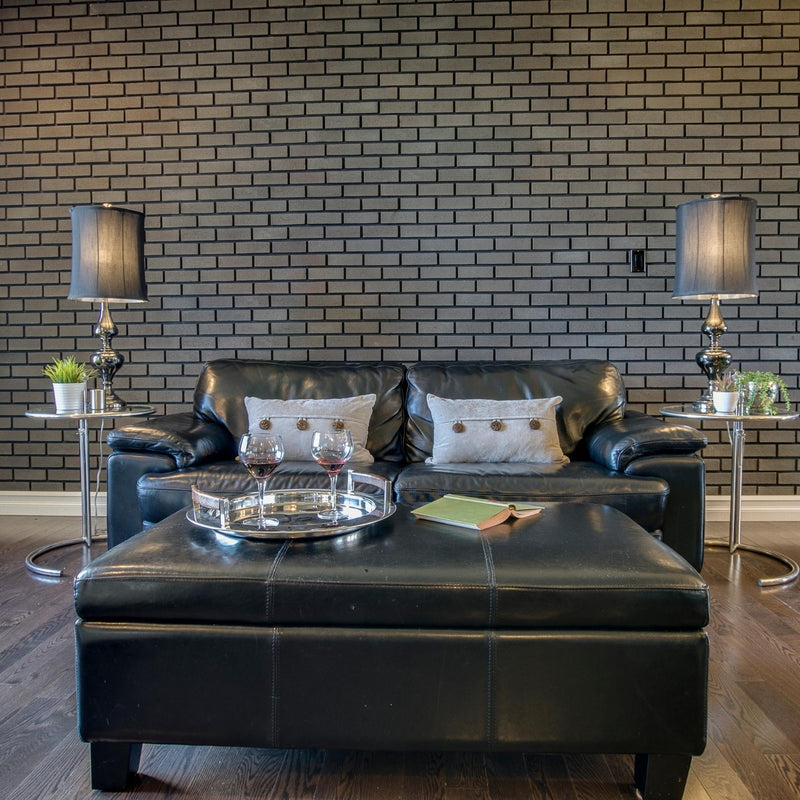
Enjoy your amazing urbanCONCRETE wall!


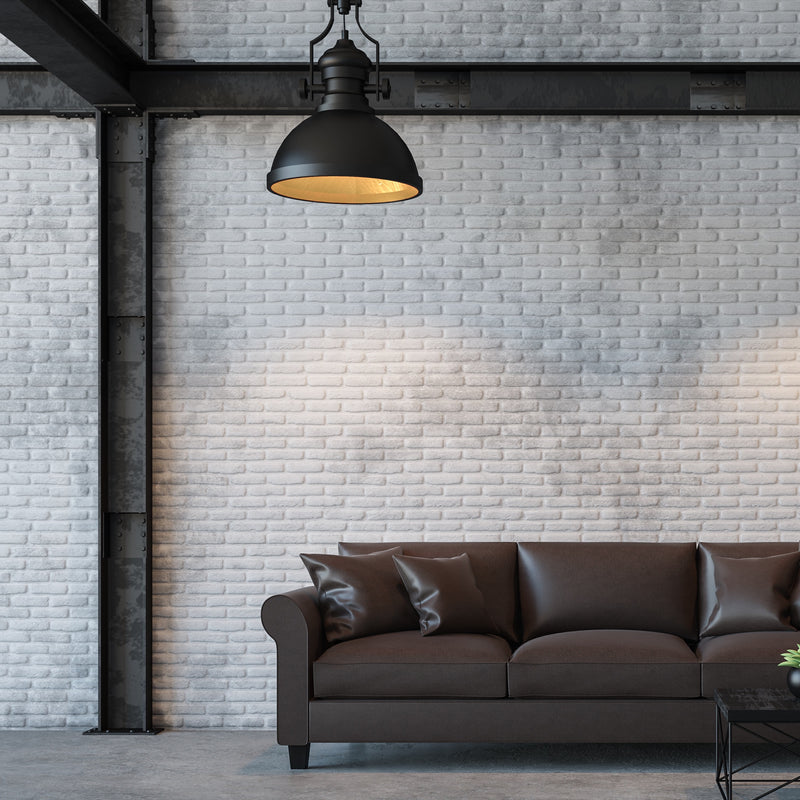
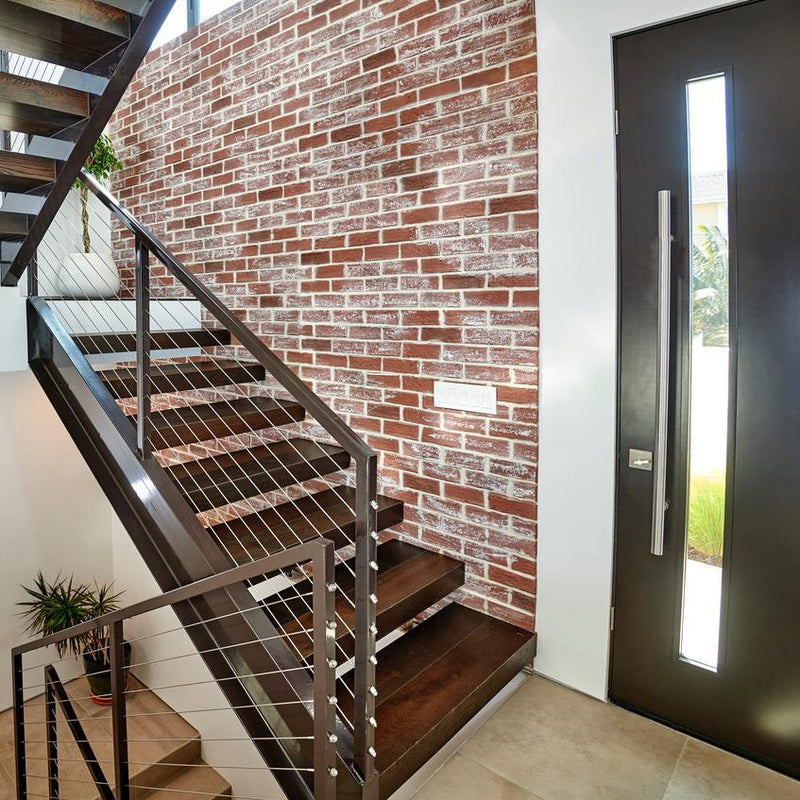
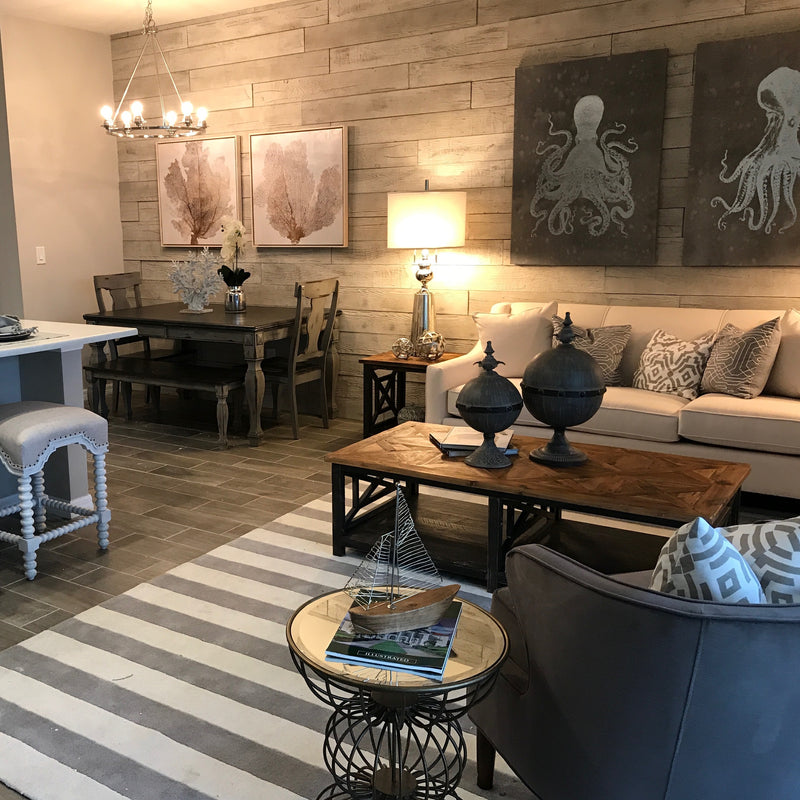
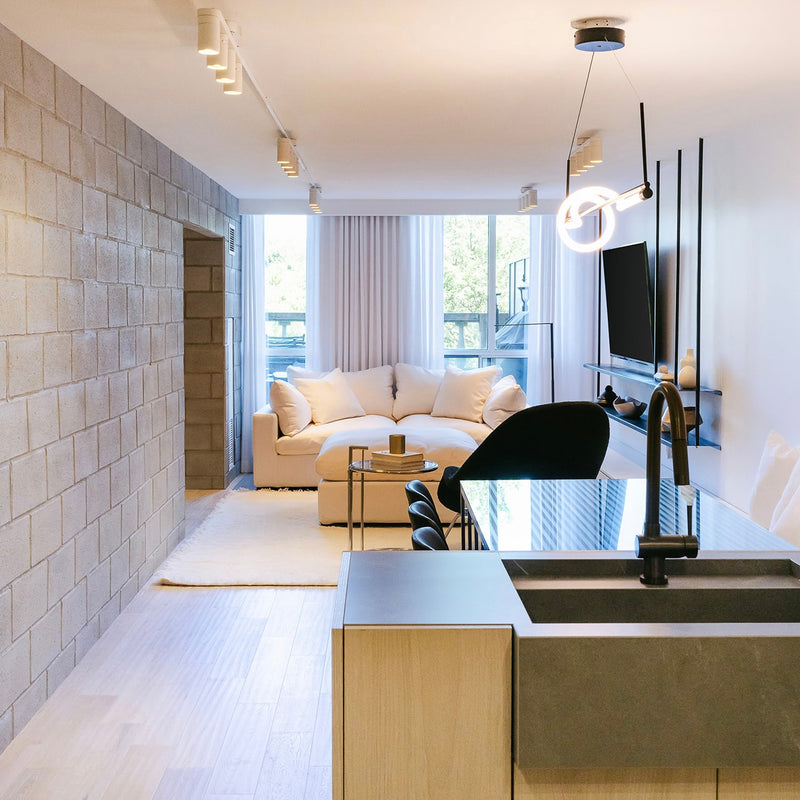
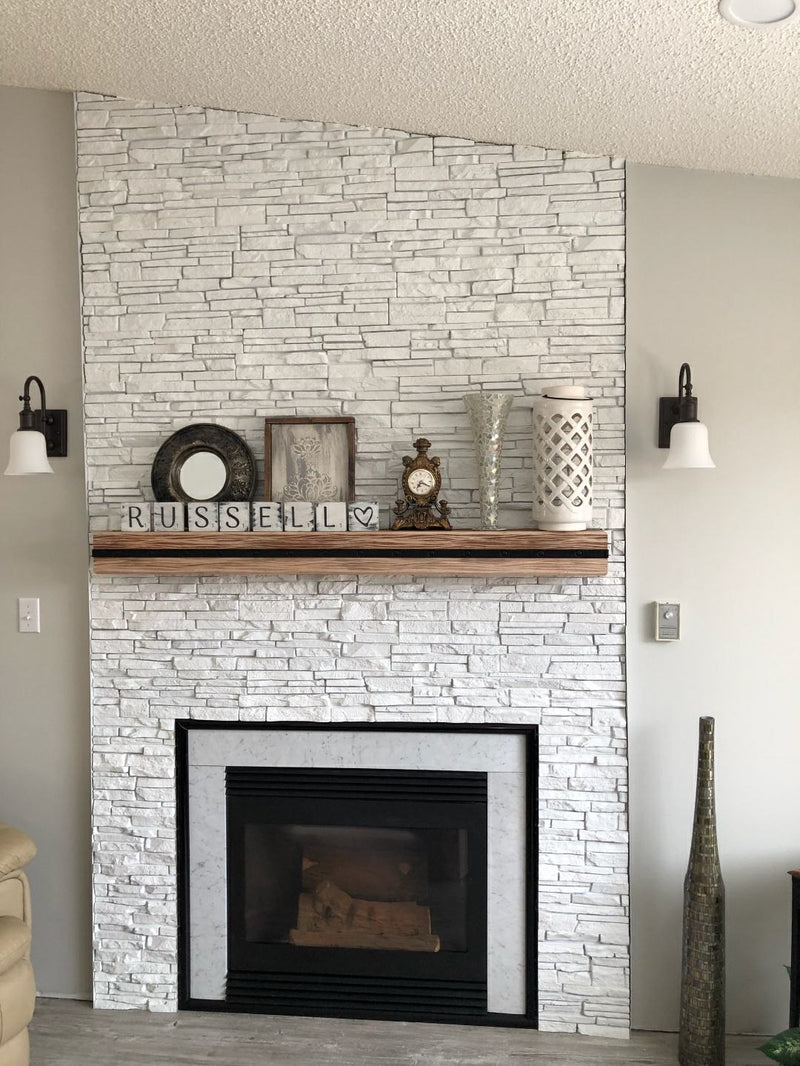
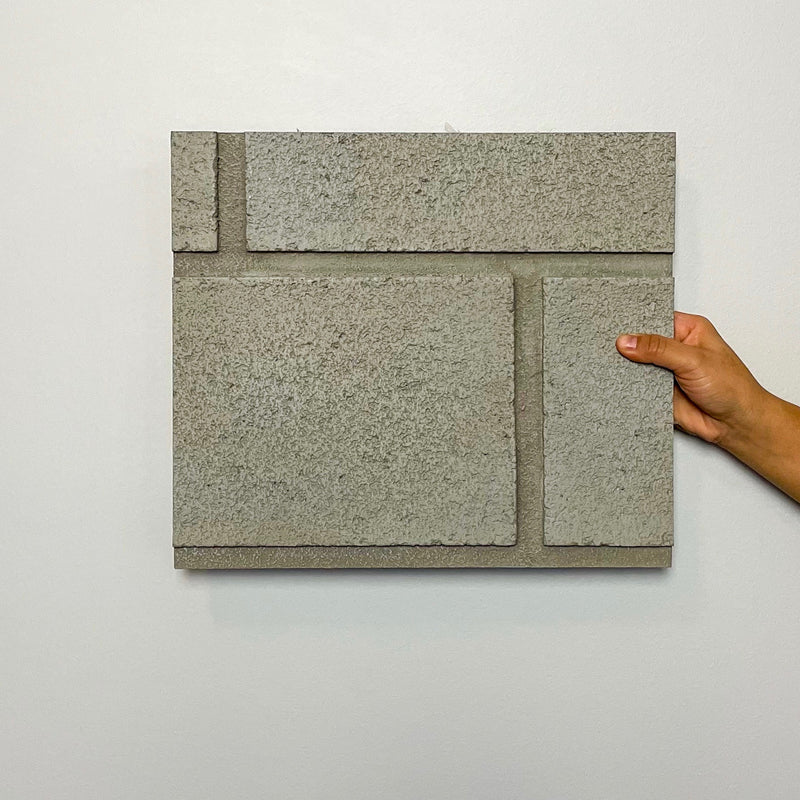
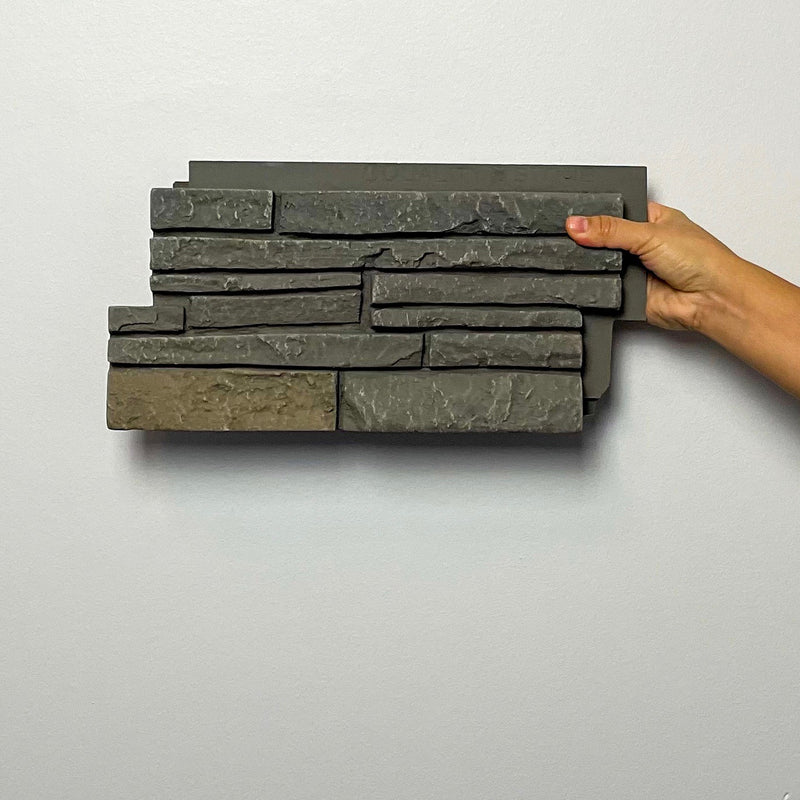
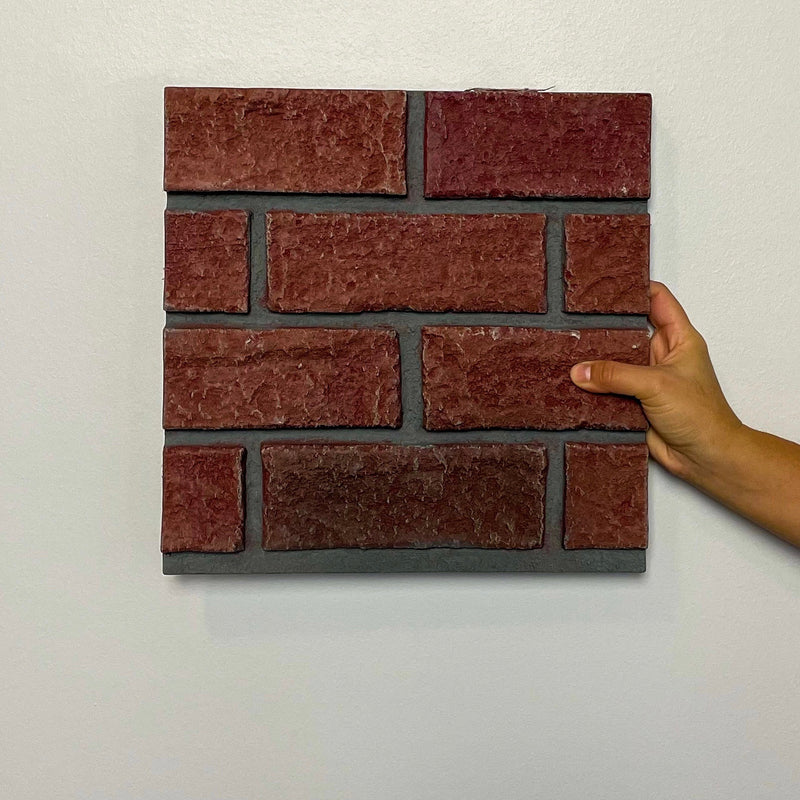
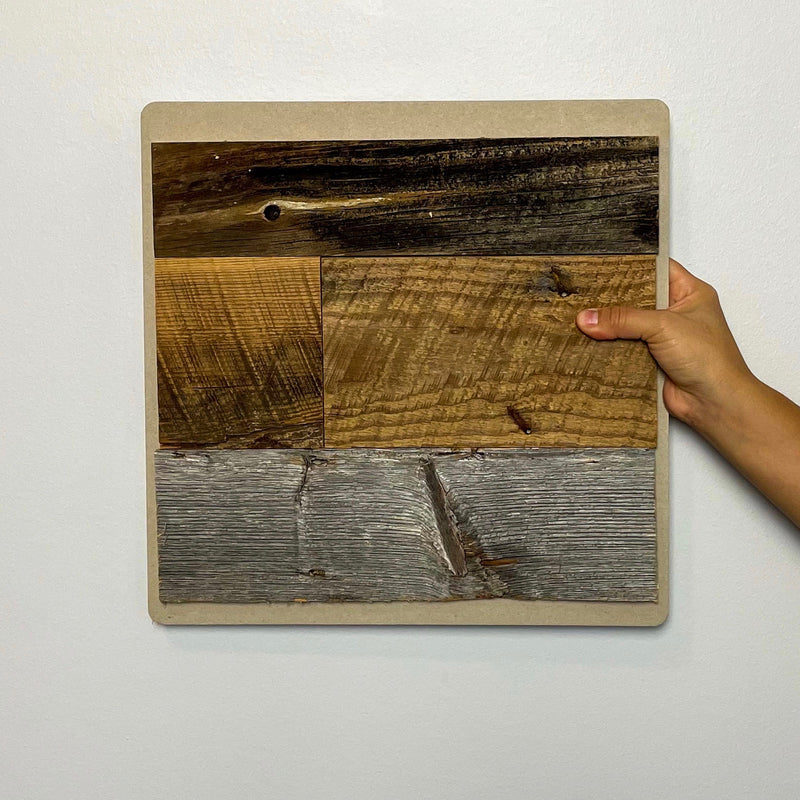
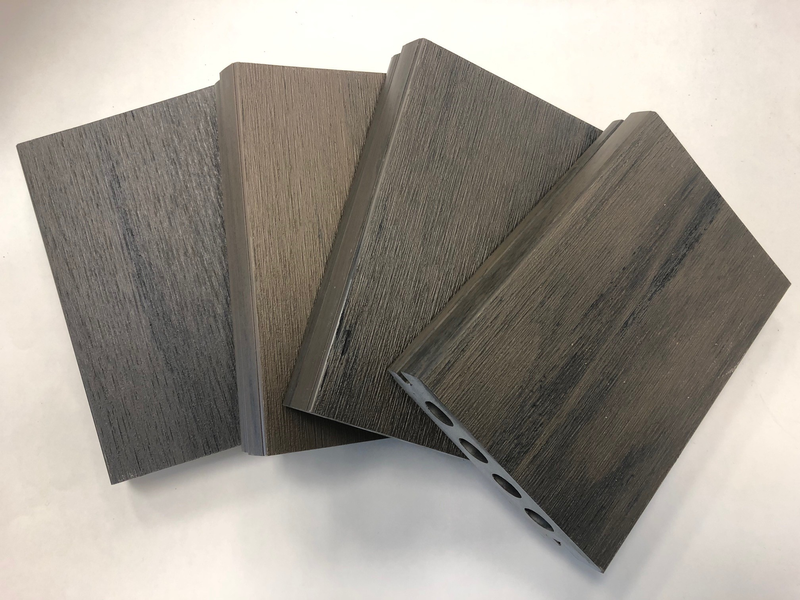
Available In Multiple Styles
Browse our selection of faux concrete panels and find your style.
Shop Faux Concrete >>